
The Windows Registry is a crucial Windows operating system component that stores configuration settings and options.
However, if you incorrectly make changes to the Registry, it could cause Windows to no longer start, for it to crash unexpectedly, or for applications to no longer work correctly.
Therefore, it is always essential to back up the Windows Registry before making any changes.
In this tutorial, we will explain how to manually backup the Windows Registry and save it to a file.
To create a backup of the Registry, please follow these steps:
Step 1: Open the Registry Editor
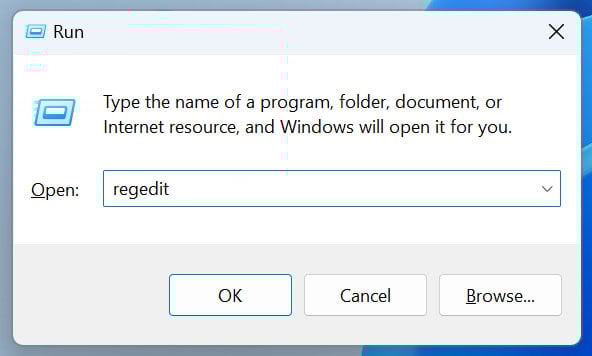
- Press the Windows key + R to open the Run dialog box.

Opening the Registry Editor
Source: BleepingComputer - Type “regedit” (without quotes) in the text box and click “OK” or press Enter.
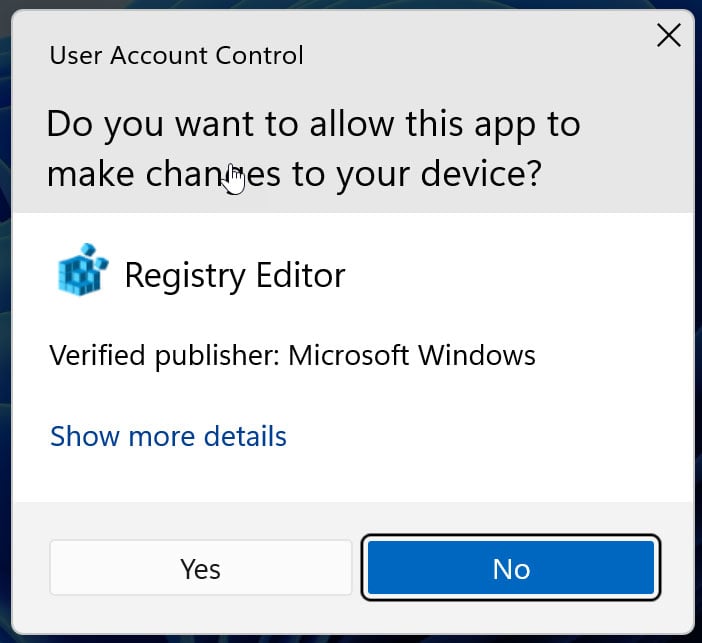
- A Windows User Account Control (UAC) prompt will now be displayed, where you should click Yes to continue.

Registry Editor UAC Prompt
Source: BleepingComputer
Step 2: Click on the Export button
- In the Registry Editor, click on ‘File‘ in the top-left corner of the window.
- From the drop-down menu, select ‘Export‘ to open the Export Registry File dialog box.

Select the Export option in the Windows Registry Editor
Source: BleepingComputer

Step 3: Choose a Backup Location and File Name
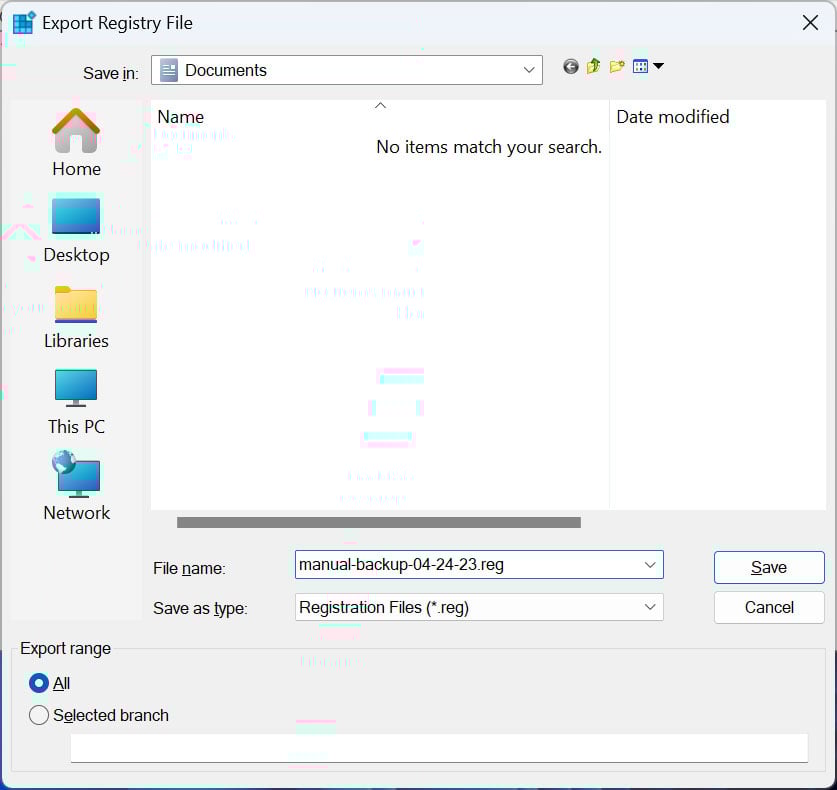
- In the Export Registry File dialog box, navigate to the storage folder where you want to save the backup file.
- Type a descriptive file name for your backup in the ‘File name’ field. For example, ‘manual-backup-04-24-23.reg’.
- Make sure the ‘Save as type’ field is set to ‘Registration Files (*.reg)’.
- In the ‘Export range’ section, you can choose whether to download All of the Registry (default selection) or specific parts of the Registry you want to backup.
- Select ‘All’ to back up the entire Registry or ‘Selected branch’ to paste a full Registry key path to backup from. For example, a full registry path is “HKEY_LOCAL_MACHINESOFTWAREMicrosoft”.

Backup the Windows Registry to a file
Source: BleepingComputer
Step 5: Back up the registry to a file
- Now, click on the ‘Save‘ button save the Registry to a backup file. If you are backing up the entire Registry, this process can take quite a while, so please be patient.
- Once the backup is complete, you’ll see the backup file in the location you specified earlier. You may want to store this file in a safe place, such as an external hardware or USB key.
You have now successfully created a manual backup of the Windows Registry to a file!
Remember always to create a backup of the Registry before you modify it so that you always have a working copy you can restore if you run into issues.
If you ever need to restore your Registry from a backup, double-click the .reg file and follow the prompts.