One thing I’ve never liked about the whole MCP thing is the fact that you have to build a server and host it yourself. So ever since hearing about this, I’ve been looking for a self-contained solution where I could basically just describe the functionality that I want and the infrastructure could be handled itself.
It turns out Cloudflare actually has a solution for doing this, and I just love this about Cloudflare. I’ve actually talked about this elsewhere where I talk about how Cloudflare is basically eating the world by doing one-off services really well.
What are MCP servers?
Model Context Protocol (MCP) servers are a way to extend AI assistants with custom tools and data sources. They let you give your AI assistant access to specific capabilities—like querying databases, calling APIs, or performing specialized tasks. The problem is, traditionally you need to:
- Set up a server
- Handle authentication
- Manage scaling
- Deal with infrastructure
- Maintain uptime
This is a lot of overhead when you just want to add a simple capability to your AI workflow.
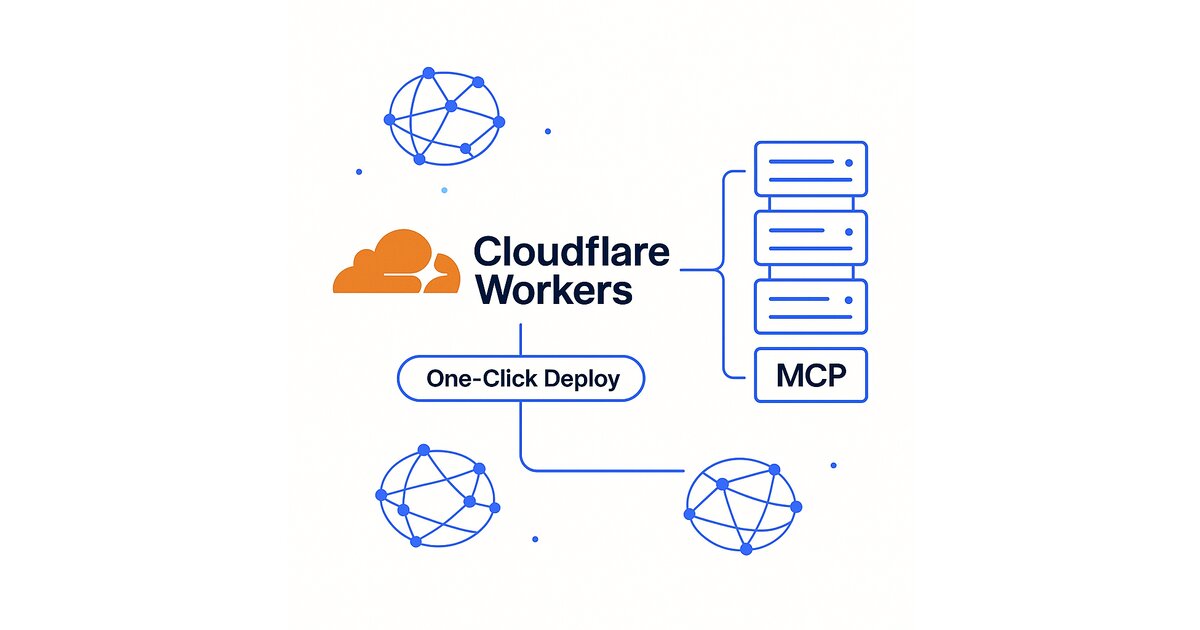
Enter Cloudflare’s one-click solution
Cloudflare Workers provides the perfect platform for MCP servers because:
- No infrastructure management – Cloudflare handles all the scaling and distribution
- Global edge network – Your MCP server runs close to users everywhere
- Simple deployment – Push code and it’s live
- Pay-per-use pricing – No paying for idle servers
Building a working MCP server
Let’s build an actual MCP server that I can use. I’ll create a simple “website analyzer” that can fetch and analyze any website’s content.
Step 1: Set up the project
mkdir cloudflare-mcp-analyzer
cd cloudflare-mcp-analyzer
npm init -y
npm install @modelcontextprotocol/sdk wrangler
1
2
3
4
Step 2: Create the MCP server
Create src/index.ts:
import { Server } from "@modelcontextprotocol/sdk/server/index.js";
import { StdioServerTransport } from "@modelcontextprotocol/sdk/server/stdio.js";
import {
CallToolRequestSchema,
ListToolsRequestSchema,
} from "@modelcontextprotocol/sdk/types.js";
const server = new Server(
{
name: "website-analyzer",
version: "1.0.0",
},
{
capabilities: {
tools: {},
},
},
);
// Define our tool
server.setRequestHandler(ListToolsRequestSchema, async () => ({
tools: [
{
name: "analyze_website",
description: "Analyze a website and extract key information",
inputSchema: {
type: "object",
properties: {
url: {
type: "string",
description: "The URL to analyze",
},
},
required: ["url"],
},
},
],
}));
// Handle tool execution
server.setRequestHandler(CallToolRequestSchema, async (request) => {
if (request.params.name === "analyze_website") {
const { url } = request.params.arguments as { url: string };
try {
const response = await fetch(url);
const html = await response.text();
// Extract basic info
const titleMatch = html.match(/( .*?)<\/title>/i);
const title = titleMatch ? titleMatch[1] : "No title found";
const metaDescription = html.match(
/\s+name="description"\s+content="(.*?)"/i,
);
const description = metaDescription
? metaDescription[1]
: "No description found";
// Count common elements
const linkCount = (html.match(/\s/gi) || []).length;
const imageCount = (html.match(/![]() \s/gi) || []).length;
const headingCount = (html.match(/
\s/gi) || []).length;
const headingCount = (html.match(/[1-6]\s/gi) || []).length;
return {
content: [
{
type: "text",
text: JSON.stringify(
{
url,
title,
description,
stats: {
links: linkCount,
images: imageCount,
headings: headingCount,
contentLength: html.length,
},
},
null,
2,
),
},
],
};
} catch (error) {
return {
content: [
{
type: "text",
text: `Error analyzing website: ${error.message}`,
},
],
};
}
}
throw new Error(`Unknown tool: ${request.params.name}`);
});
// For Cloudflare Workers
export default {
async fetch(request: Request): Promise<Response> {
if (request.method === "OPTIONS") {
return new Response(null, {
headers: {
"Access-Control-Allow-Origin": "*",
"Access-Control-Allow-Methods": "POST, OPTIONS",
"Access-Control-Allow-Headers": "Content-Type",
},
});
}
// Handle MCP requests over HTTP
const transport = new StdioServerTransport();
await server.connect(transport);
return new Response("MCP Server Running", { status: 200 });
},
};1
2
3
4
5
6
7
8
9
10
11
12
13
14
15
16
17
18
19
20
21
22
23
24
25
26
27
28
29
30
31
32
33
34
35
36
37
38
39
40
41
42
43
44
45
46
47
48
49
50
51
52
53
54
55
56
57
58
59
60
61
62
63
64
65
66
67
68
69
70
71
72
73
74
75
76
77
78
79
80
81
82
83
84
85
86
87
88
89
90
91
92
93
94
95
96
97
98
99
100
101
102
103
104
105
106
107
108
109
110
111
112
113
114
115
116
117
118
119
120
121
Step 3: Configure for Cloudflare
Create wrangler.toml:
name = "mcp-website-analyzer"
main = "src/index.ts"
compatibility_date = "2024-01-01"

[build]
command = "npm run build"

[build.upload]
format = "modules"
main = "./index.js"
1
2
3
4
5
6
7
8
9
10
Step 4: Deploy to Cloudflare
# Login to Cloudflare
wrangler login

# Deploy the worker
wrangler deploy
1
2
3
4
5
That’s it! Your MCP server is now live on Cloudflare’s global network.
Step 5: Connect to your AI assistant
Add to your MCP configuration:
{
  "mcpServers": {
    "website-analyzer": {
      "url": "https://mcp-website-analyzer.YOUR-SUBDOMAIN.workers.dev",
      "description": "Analyzes websites and extracts key information"
    }
  }
}
1
2
3
4
5
6
7
8
The beauty of this approach
What I love about this is:
- Zero infrastructure – No servers to manage, no scaling to worry about
- Global performance – Runs on Cloudflare’s edge network
- Simple pricing – Pay only for what you use
- Easy updates – Just push new code
This is exactly what I’ve been looking for—a way to extend AI capabilities without the infrastructure overhead.
Summary
- MCP servers traditionally require managing your own infrastructure
- Cloudflare Workers eliminates this overhead with one-click deployment
- You can focus on functionality while Cloudflare handles the backend
- The example website analyzer shows how simple it can be
- This approach makes MCP servers accessible to everyone, not just infrastructure experts