On May 14th, Lew Cirne, the CEO of New Relic, announced a new platform called New Relic One. The platform, featuring a fresh new design and better data visualizations, came as a surprise to investors and New Relic users alike.
But it did not come as a surprise to me, for I had found out about it months prior, using a common trick that I’ve used multiple times in other bug bounty programs to access unreleased beta and admin features; the Burp Suite match and replace rule.
The concept is simple: By changing the server response body from “false” to “true” (I cheekily refer to this as the FALSE2TRUE trick, because everything has to have a catchy name nowadays 😏) – you open up much more on the client side that might previously be hidden or unaccessible, and that’s exactly what happened when I found out about New Relic One. This is not a secret, and has been a method for a long time.
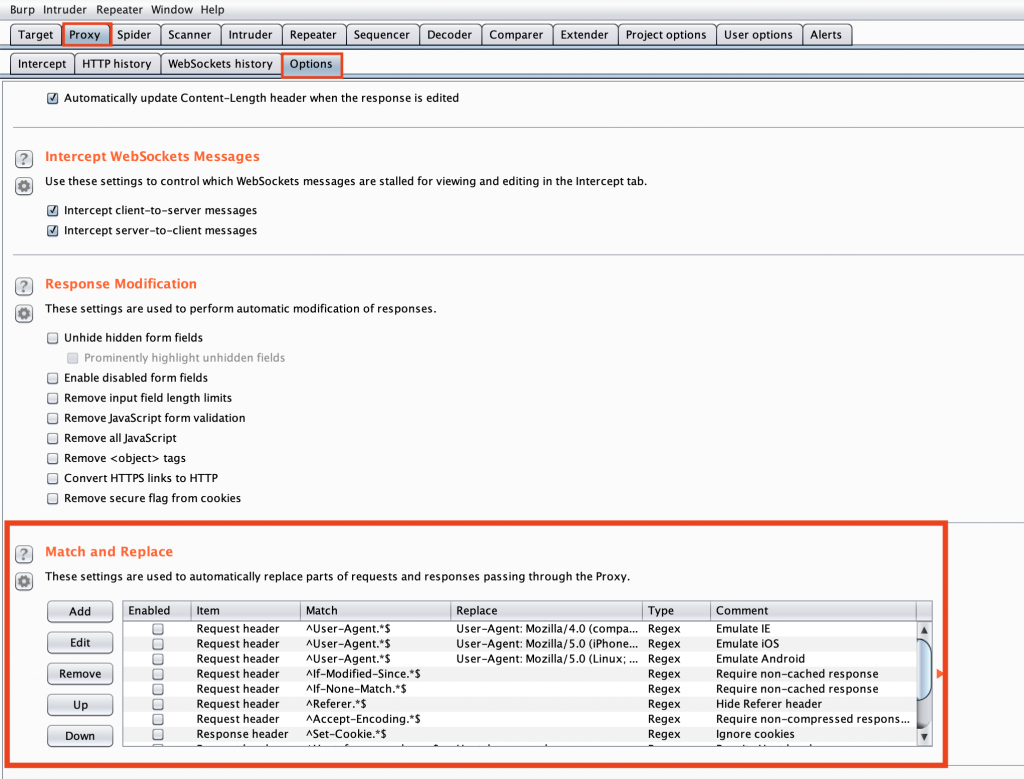
For those of you new to using the Burp Suite match and replace rule, this article goes deeper into where to find it in Burp and how to use it – but it lives under the Proxy settings in Options:
The match and replace rule goes well beyond just changing false responses to true – it can also be used for privilege escalation to change your user permissions from “User” to “Admin”. Let’s use the following example:
Imagine the server performs a check of the permissions of the user with the current session. The request to the server might look something like this:
POST /api/getUserDetails HTTP/1.1
Host: myserver.jonbottarini.com
Cookie: mycookies

{"user":"123"}
And the response might look like this:
HTTP/1.1 200 OK

{"data":{"currentUser":{"userData":[
{"userLevel":READONLY,"subscriptionLevel":"BASIC"}
]}}}
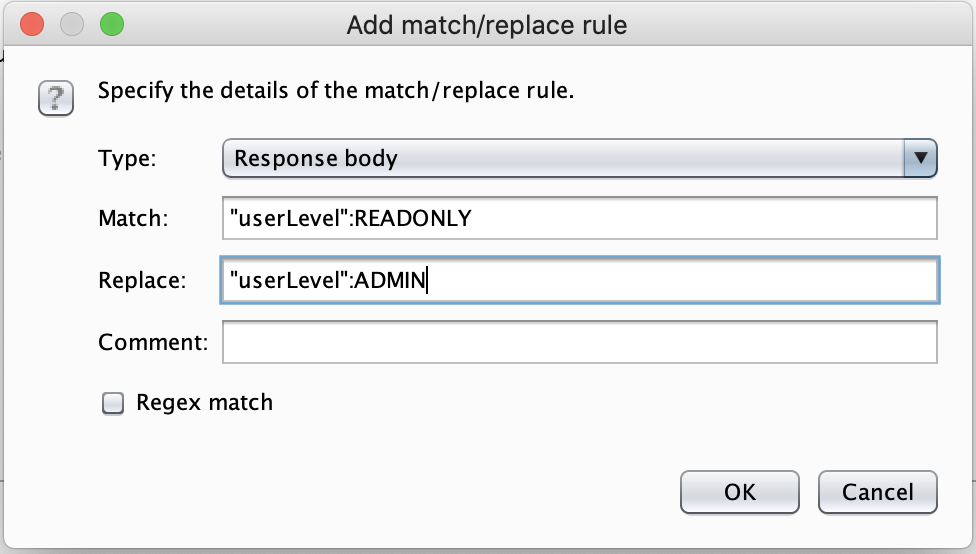
In the response, the client operates under the assumption that the user is in “READONLY” mode, and has a “BASIC” subscription. If we add a match and replace rule to change the “userLevel”:READONLY response to “userLevel”:ADMIN, we can trick the client to display UI elements that are meant only for Administrators:
We can go one step further and display UI elements that are meant only for a “Professional” level subscription as well:
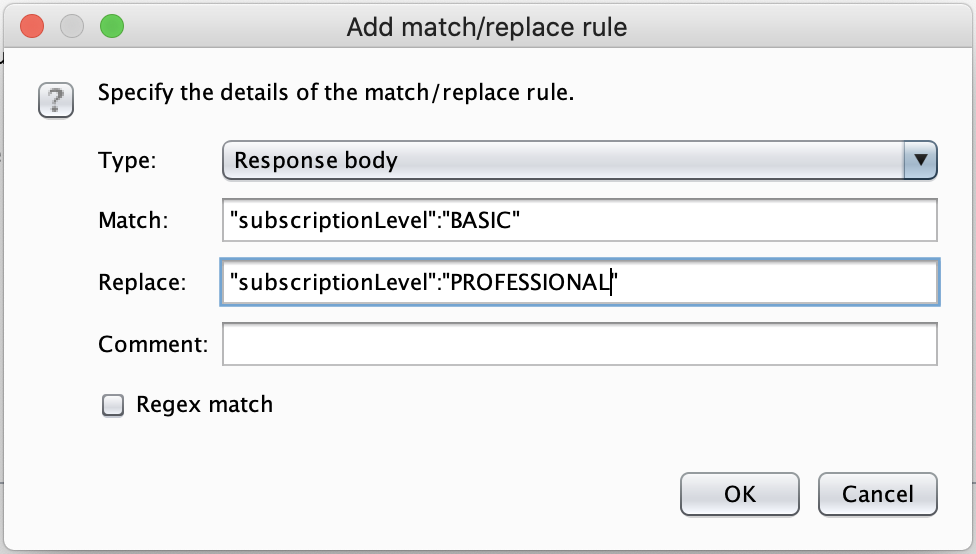
If we were to add the match/replace rules above, the response to the client will now look like this:
HTTP/1.1 200 OK

{"data":{"currentUser":{"userData":[{"userLevel":ADMIN,"subscriptionLevel":"PROFESSIONAL"}]}}}
@daeken has another nifty trick with the Burp match/replace rule: injecting payloads into forms instead of typing out the entire payload:
Back to New Relic. I was using the FALSE2TRUE trick when I realized that there was a feature flag on my account which was always returning false. By simply changing this response to true using Burp match/replace rule, I noticed that there was additional UI elements that appeared on the page.
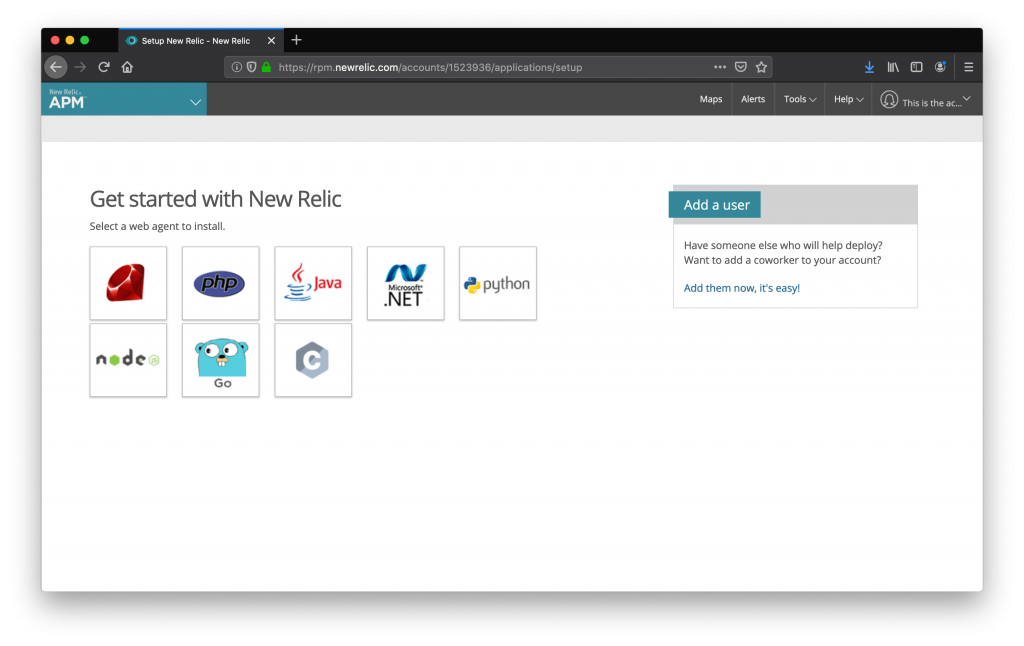
This is the New Relic landing page when logging in without FALSE2TRUE:
Now, when using the FALSE2TRUE trick, changing all “false” values to “true”:
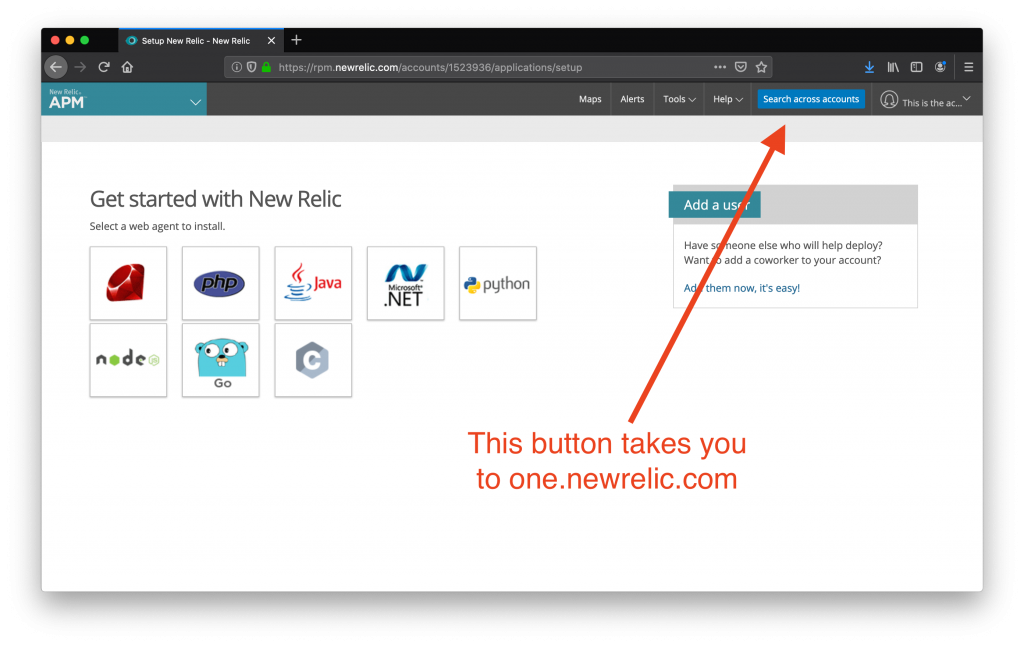
Bug found!
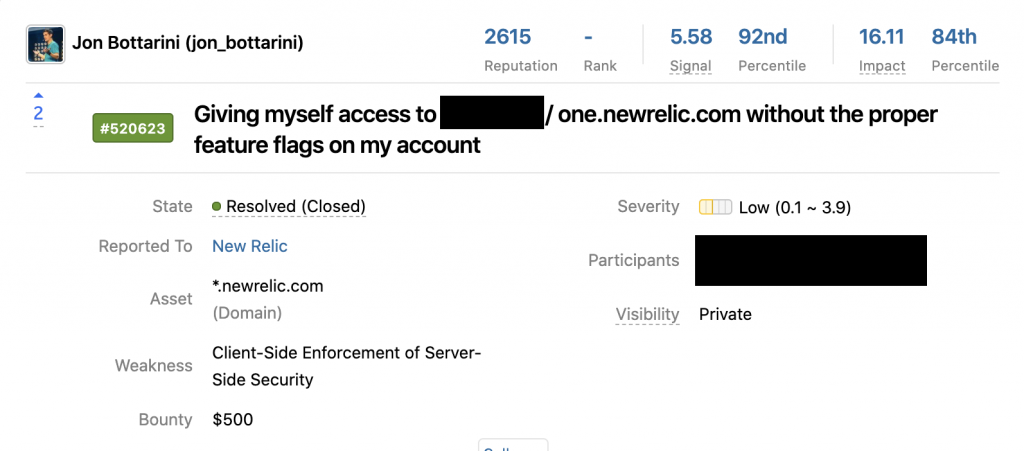
The Burp match and replace rule gave me access to a completely unreleased feature with a ton of new functionality, where I found other bugs as well, prior to the public release.
A word of warning: Be careful when using the FALSE2TRICK on big websites, because you can really mess up your session, or even your entire account.
I’m curious how you use the match/replace tool in your Burp projects – leave a comment below or ping me on Twitter if you would like to share. If it’s a really good tip, I’ll put it in this post so others can learn!
Until next time 👋
(The New Relic security team reviewed this post in full before it was published and have agreed to let me use one of my reports as an example. I am especially grateful for the New Relic team to be so open and accepting of using their program and bugs I’ve found in examples on my blog).
